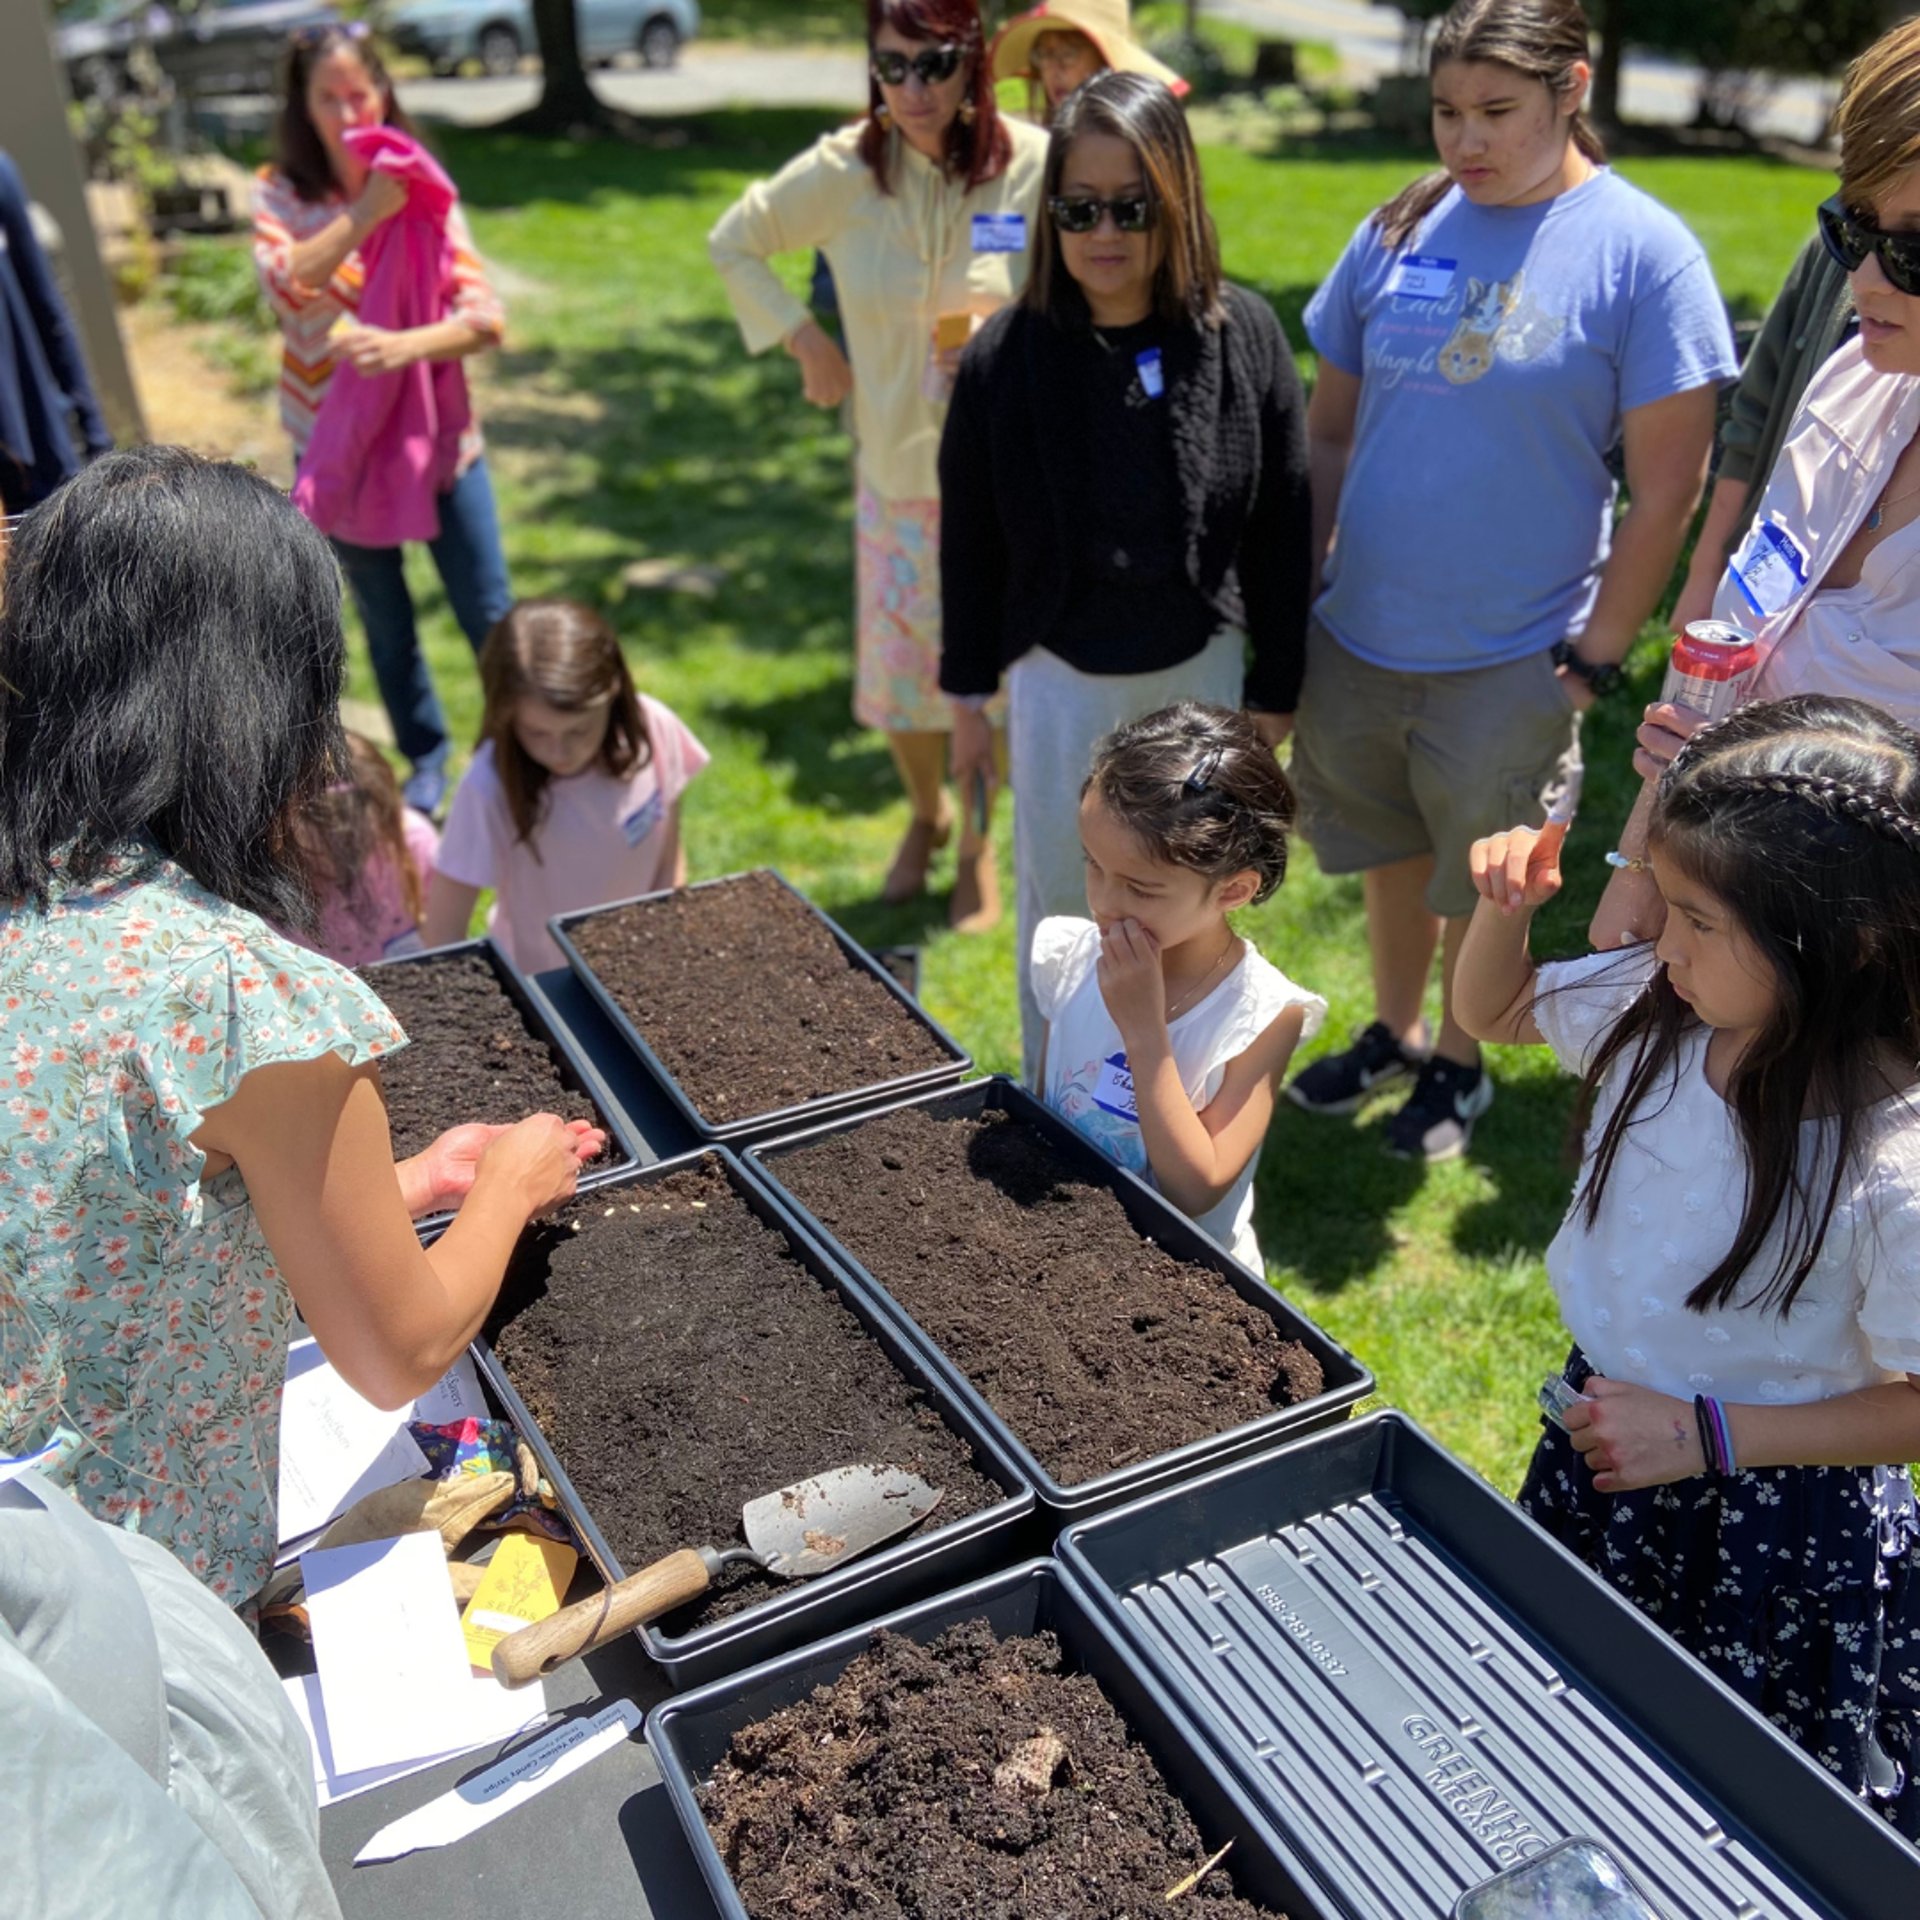
Join our Succession Planting Workshop - learn how to grow year round!
Helping Families Grow Food Using Permaculture
If you’ve read all the blogs, watched Youtube videos, checked out tons of gardening books at the library, and are still struggling to plant a garden and grow your own food...you’ve come to the right place!
Learn to Grow Your Own Food
We help people like you grow your own food - no matter the size of your growing space or growing climate.
No more Googling, abandoning plans, or wondering where to go for advice specific to your climate or region.
Through our programs and resources, we guide you, step-by-step, on how to design, plant, and harvest your garden using permaculture methods.
WORKSHOPS
DESIGN YOUR OWN
PERMACULTURE GARDEN
Overwhelmed by the thought of growing your food?
Not sure where to begin?
Tired of having to "wing it" every growing season?
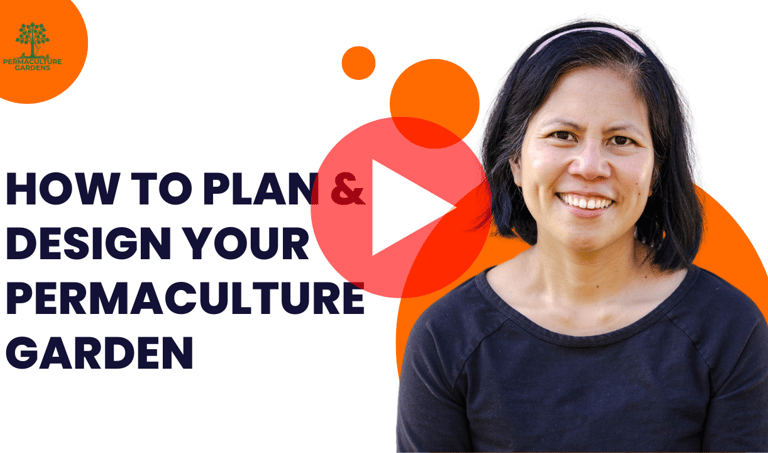
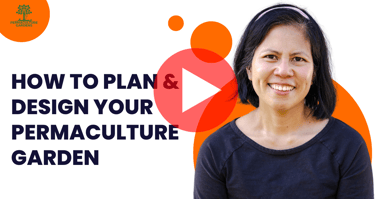
Plan & Design Your Garden
and design your garden with ease and the ecology in mind!
Watch this 10-minute video
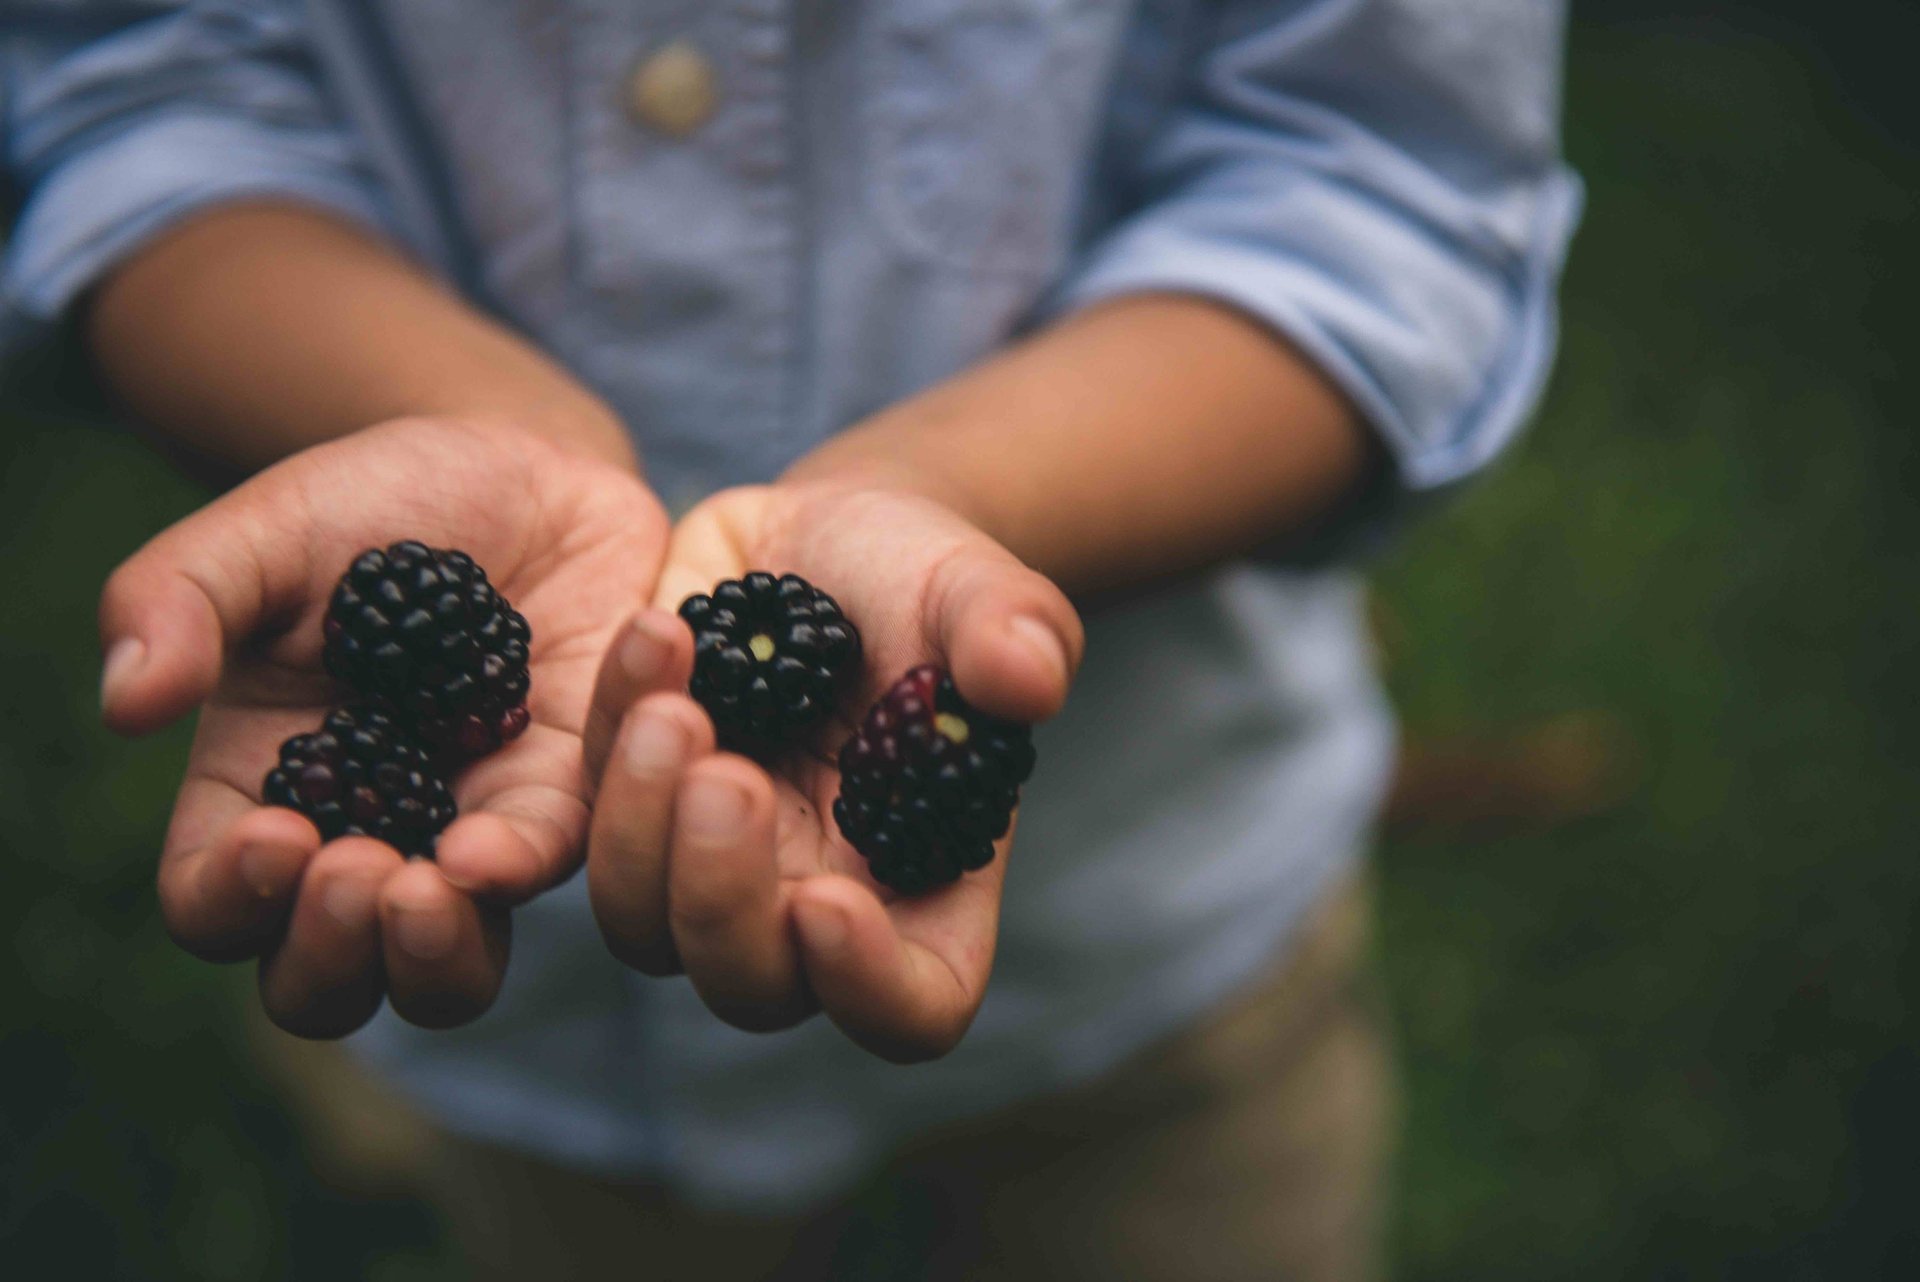
Feed Your Family. Change the World.
With rising food prices, issues in the global supply chain, and the threat of climate change, growing your own food not only helps you save money - it also provides you with the most nutrient-dense, organic, and tastiest produce.
When you grow your food you are doing your part to regenerate the land you have control over which contributes to reducing global climate change. Not only that, but you are building relationships, teaching your children where their food comes from, and feeding your soul.
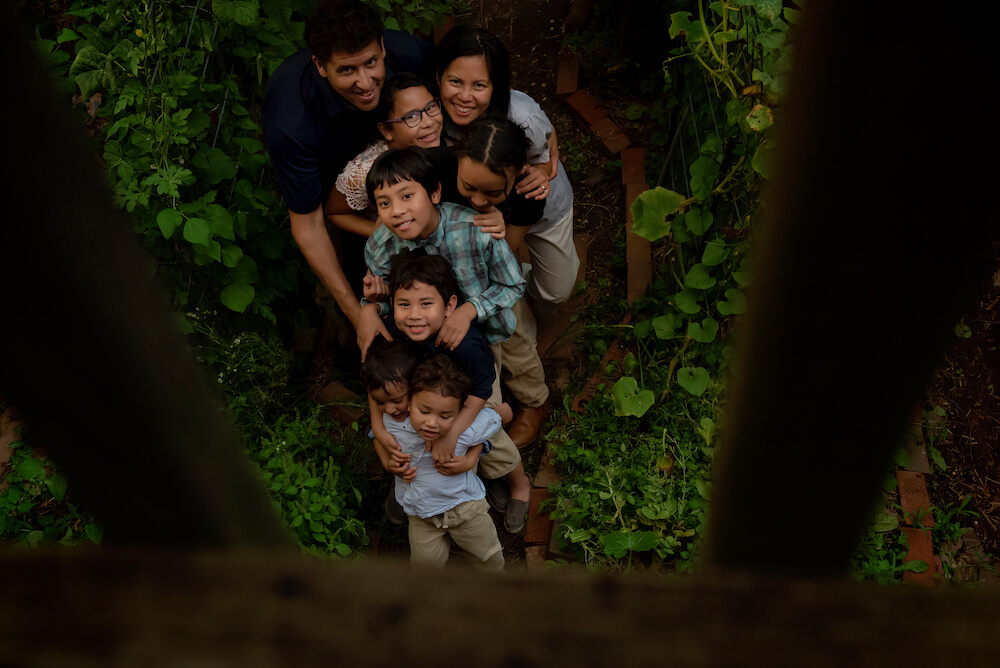
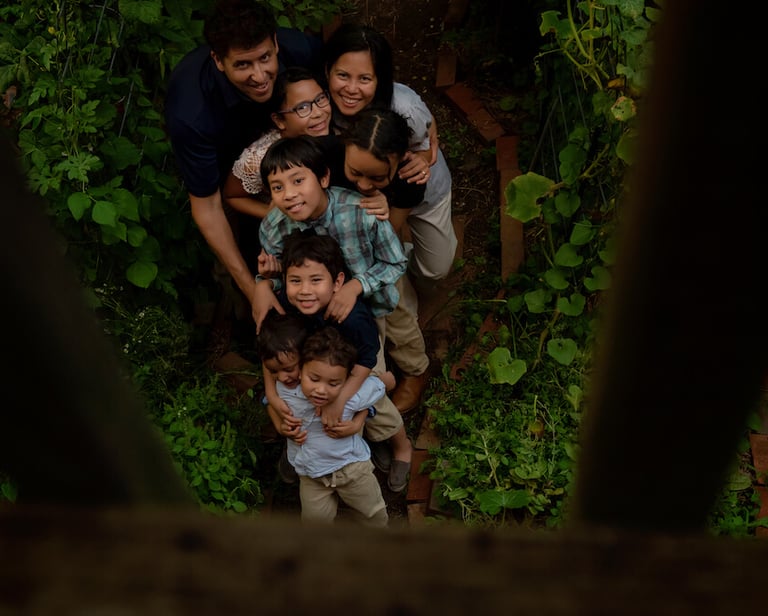
OUR STORY
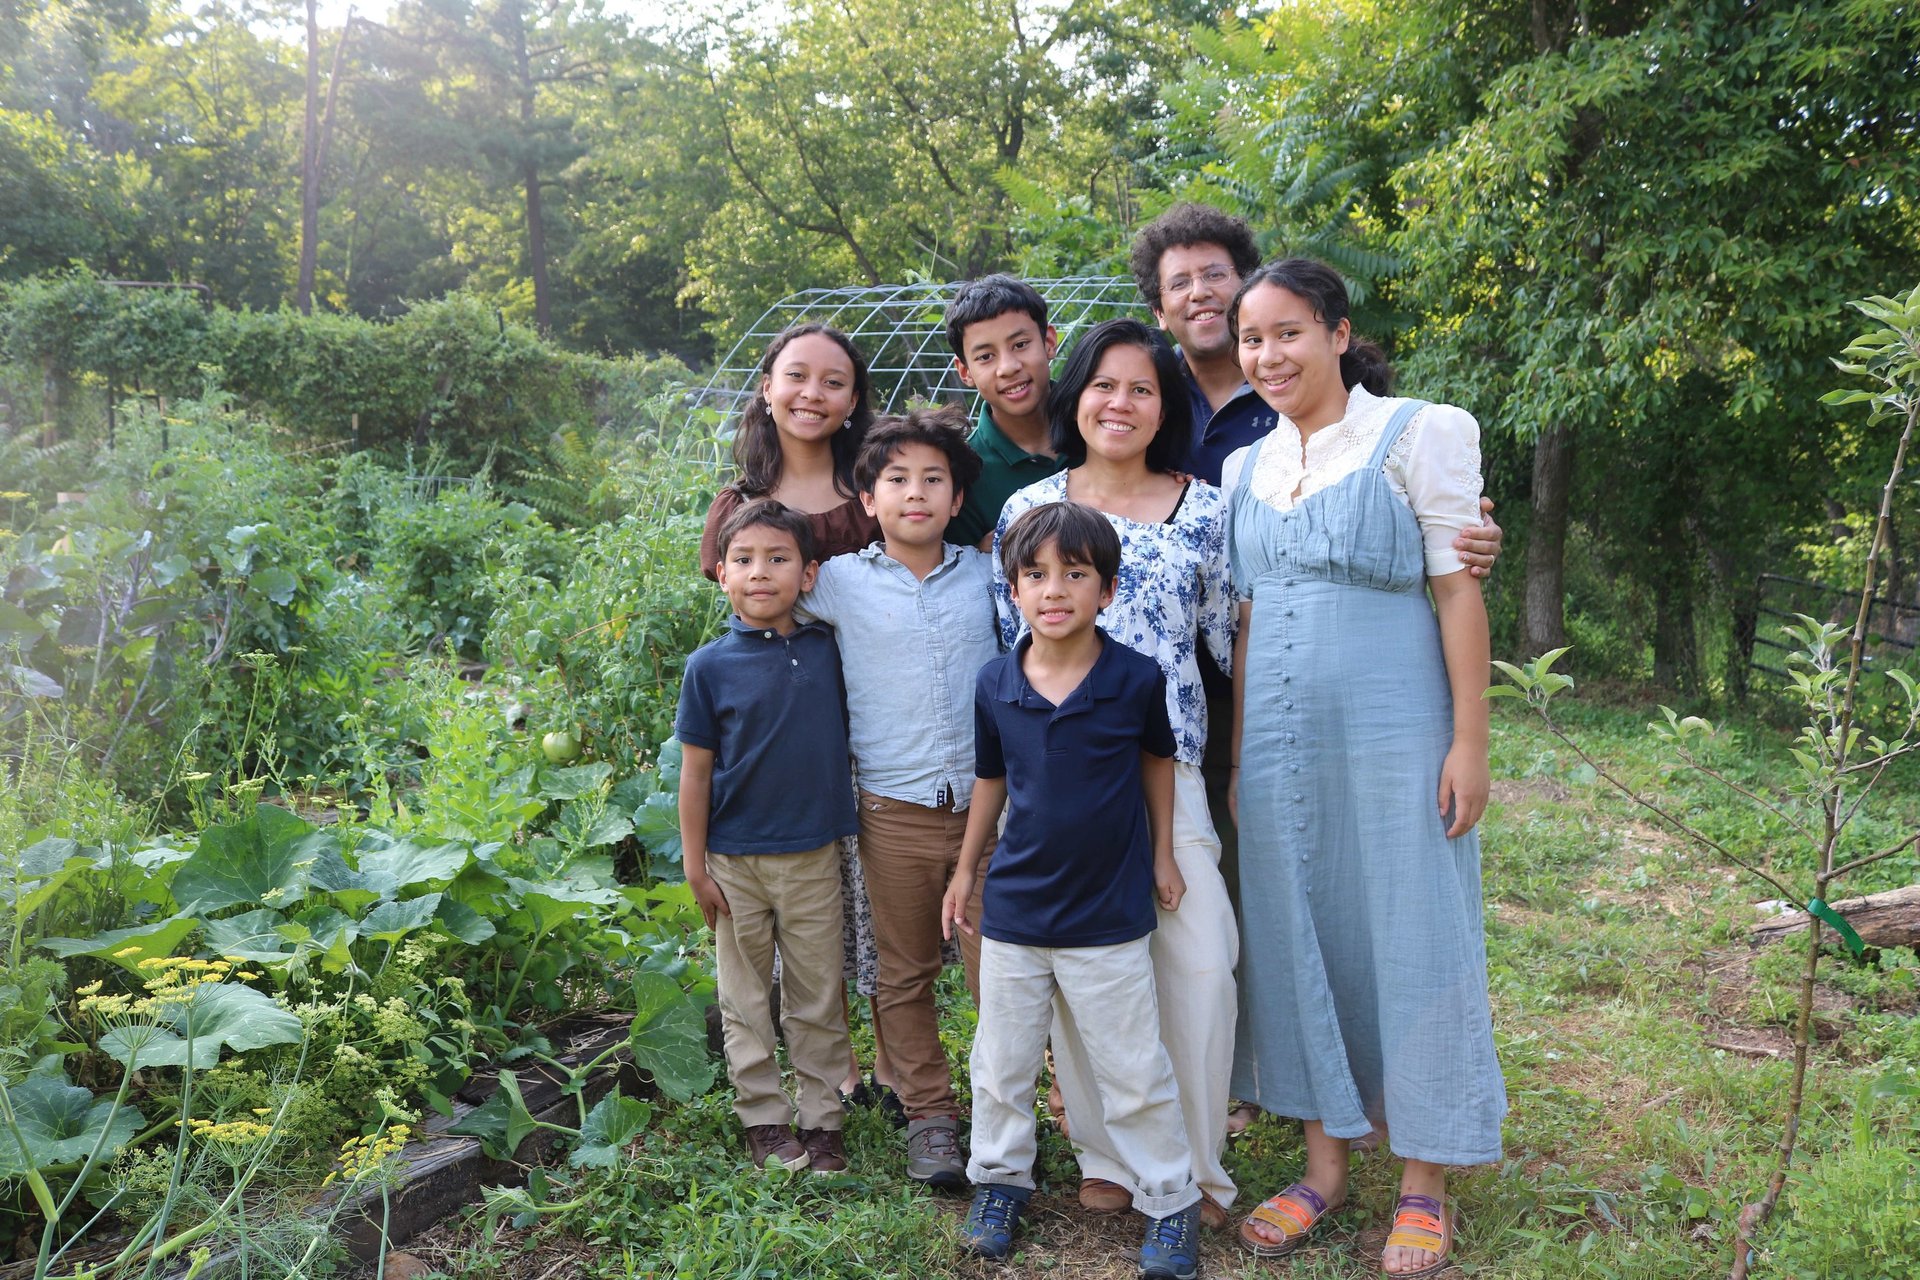
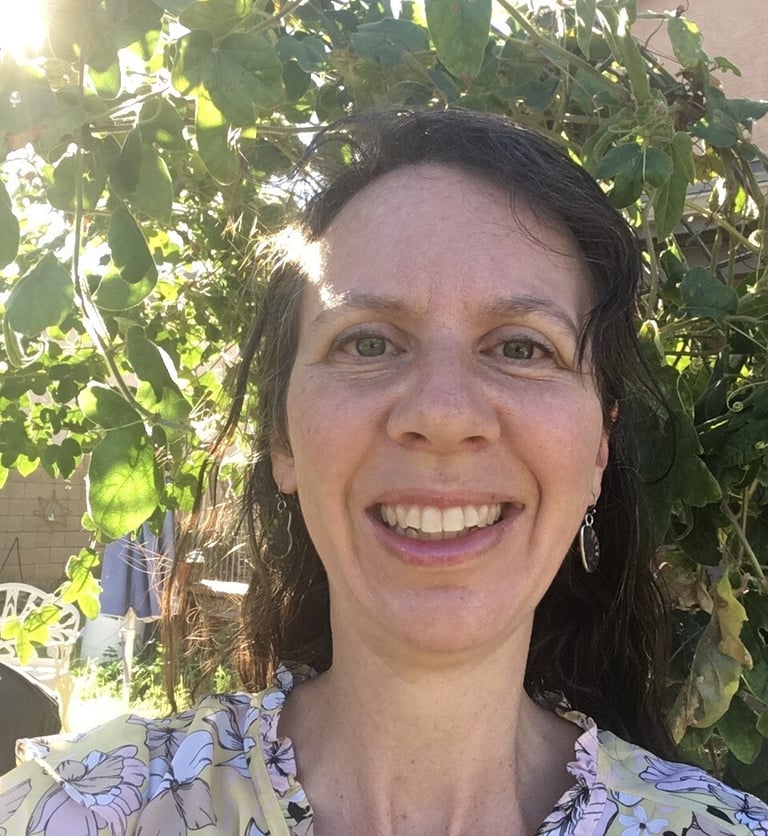
Permaculture for Families
Hi! We’re the Schauders. Our journey to growing our own food has been a long one.
After we discovered our eldest two children developed severe food allergies as babies, we completely re-evaluated the way we ate. Six kids and many mistakes later, we managed to grow 25% of our food organically inside and outside of our small townhouse - 235 pounds a year on 1/40th of an acre to be exact.
Using permaculture methods, we were able to save money, use what we had, and grow the safest, most organic food possible. We’re now on a mission to bring this way of growing to families around the world.
Now, we own and operate Bethany Farm, a 3-acre property in the mountains of Leesburg, Virginia, where we grow our food, teach the community to grow theirs, and raise our family!
ARE YOU READY?
Grow With Us!
Design Your Garden With SAGE
SAGE is a permaculture garden app to help you design and grow your food garden in a holistic and abundant way.
This app is a collaborative, community effort to build more resilient systems in our gardens. Be an early adopter of SAGE, our permaculture garden app
Meet Our Growers!
"Nicky's garden design for my backyard is not only beautiful but maximizes space and uses permaculture principles that lead me to grow more veggies than I thought possible in my tiny space!"
-Nicole F., Virginia


"Nicky and Dave are kind and caring and compassionate people that have helped me through successes and failures in my garden, and I have far better results than I have ever had before!
The true principles that are taught apply to any gardener, and the community provides support and accountability all through the journey.
This is one of the best investments I have ever made in a program."
-Sandy S., Arizona
"When my son's allergies led me to grow my own food, I found the breadth of information about gardening organically terribly daunting.
Now I have one place to go to find the answers, support, inspiration, and community I need to grow my food."
-Lisa F., Colorado
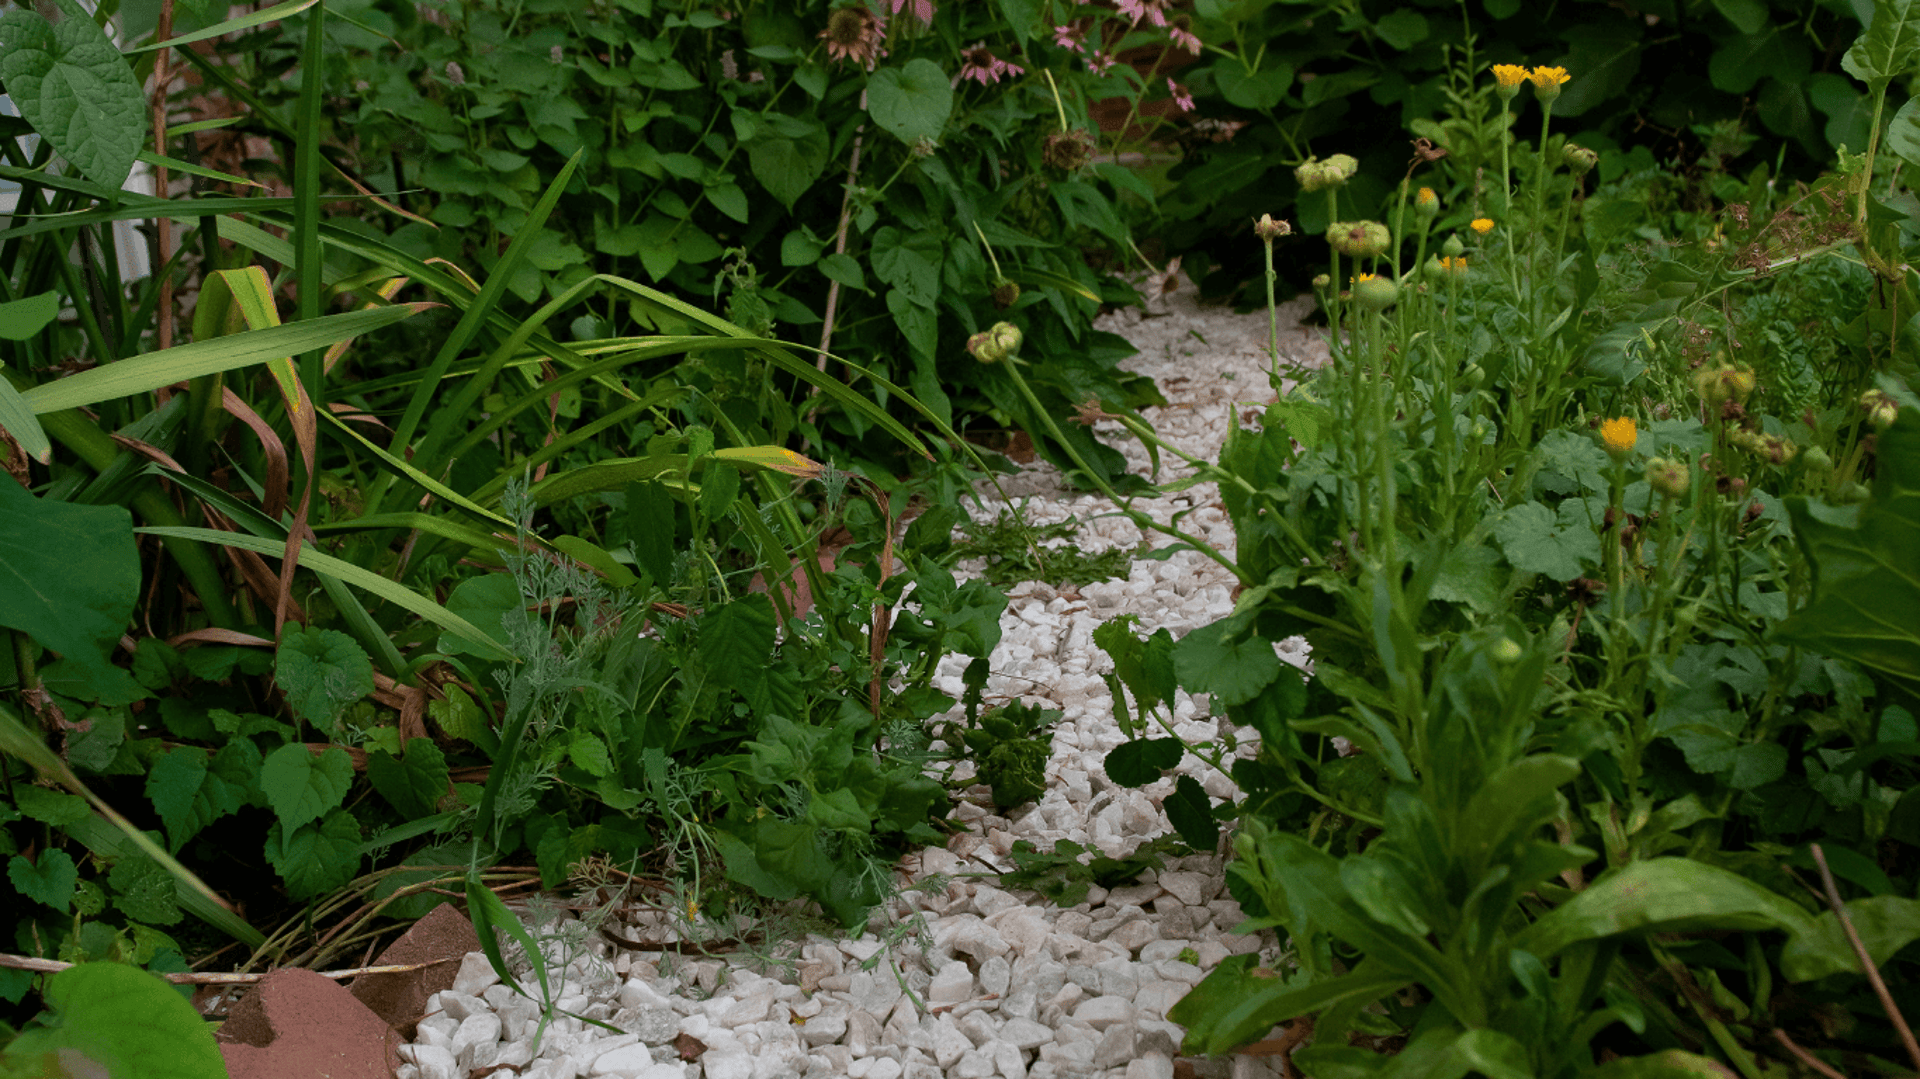
What Is Permaculture?
Permaculture used to be a word coined from "permanent agriculture." It has now come to mean so much more than that! For us, it means thoughtful and holistic design based on observations of the natural world in order to bring about sustainable and abundant living.
It is sustainable design based on observation. Permaculture considers all the players and stakeholders of an ecosystem. The plants, the bugs, good and bad. The people, their pets, their homes, the community.
Permaculture is a design system that keeps on improving, evolving and changing for the better because, in the end, we're creating a cyclical economy in our homes and our communities. And we try to consider the integrated whole rather than the sum of its parts in all that we do.
Learn practical gardening tips and permaculture methods on our blog.
The Permaculture Gardens Blog
Proud to be featured by:


All the world's problems can be solved in a garden."
- Geoff Lawton, Permaculture Designer
Begin Your Garden Journey!
Sign-up for our email newsletter. Each week, we’ll send tips and inspiration on how you can find abundance, freedom, and community by growing your own food
Permaculture Gardens - your online resource for organic & sustainable gardens.
Contact
permaculturegardens@gmail.com
Bethany Farm
41558 Stumptown Rd.,
Leesburg, VA 20176